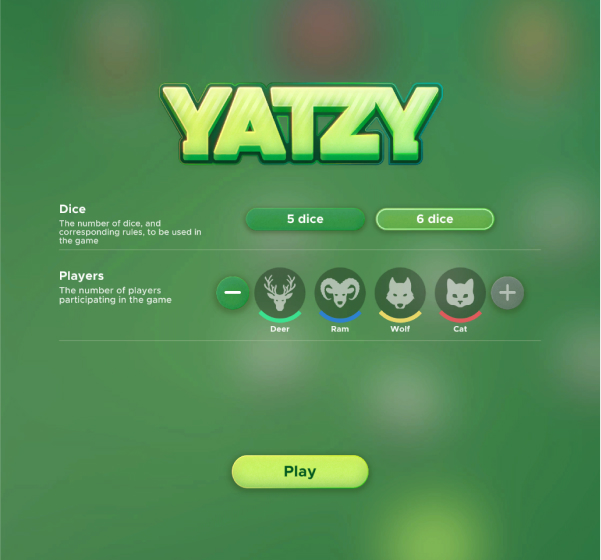
Play Yatzy™ online with random players or with family and friends.


Getting started with Topaz Detail 3.2.0 is easy. Here's a step-by-step guide:
Unlike many simpler plugins that apply the effect to 100% of the image, Detail 3.2.0 features a built-in brush. This allows the user to "paint" the detail enhancements onto specific areas of the photo. For example, you can apply intense sharpening to the eyes of a portrait while keeping the skin soft.
Adds "pop" and depth to the overall composition without making it look crunchy. Key Features for Your Final Polish
Open your image in Adobe Photoshop. Right-click the background layer and select . This ensures non-destructive editing. Step 2: Launch the Plugin Topaz Detail 3.2.0 Plugin Photoshop Final
Defining edges without over-sharpening flat areas.
Go to the Filter menu, select Topaz Labs , and then choose Topaz Detail 3 .
If you want, I can:
Double-click the installer and follow the on-screen instructions. The default installation path for Windows is typically C:\Program Files\Topaz Labs\Detail 3 .
Topaz Detail is not just another "sharpen" filter. It is a . The software analyzes your image and separates it into three distinct component sizes: Small, Medium, and Large. By adjusting these independently, you can enhance eyelashes, skin pores, fabric weaves, or cloud formations without creating ugly halos or amplifying noise.
What is your (e.g., portraits, landscapes, architecture)? Topaz Community Topaz Photo AI v3.2.0 - Releases Getting started with Topaz Detail 3
If you are a professional photographer who needs to process 2,000 wedding photos quickly, buy or Lightroom’s Enhance tools. They are faster and AI-driven.
This is the heart of the plugin.
: Includes a built-in mask tool that allows you to "paint in" or "paint out" sharpening effects on specific areas of the image, such as keeping a subject sharp while leaving the background soft. Tone & Color Adjustments For example, you can apply intense sharpening to


© 2026 Network & Spring — All rights reserved.